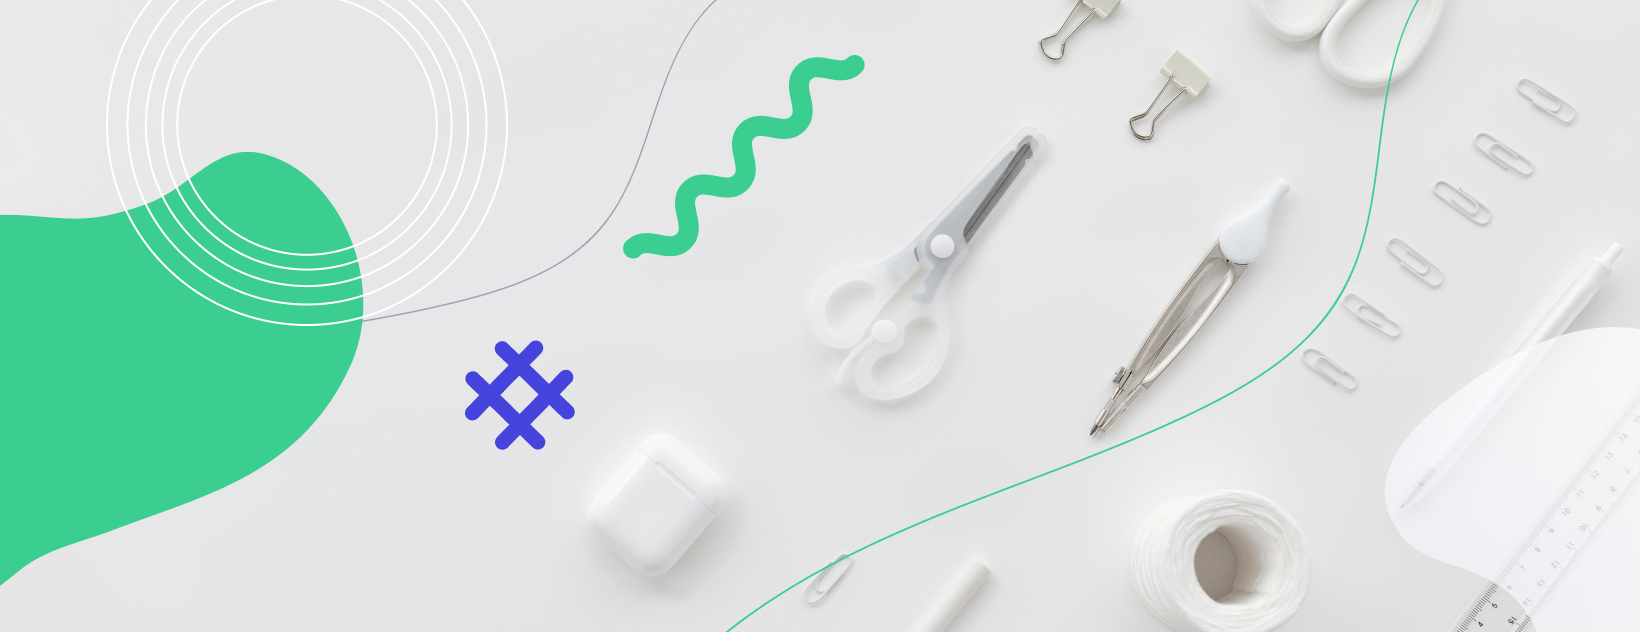
After you came through all the trends, let's dive into the old but gold methods to photoshoot Instagram products. With levitation photos and flat lay, you'll draw tons of attention to the product and sell it at lightning speed!
But first, it is better to know how to create a mood board for your Instagram profile and then to dive further into this article.
Flyaart levitation on Instagram
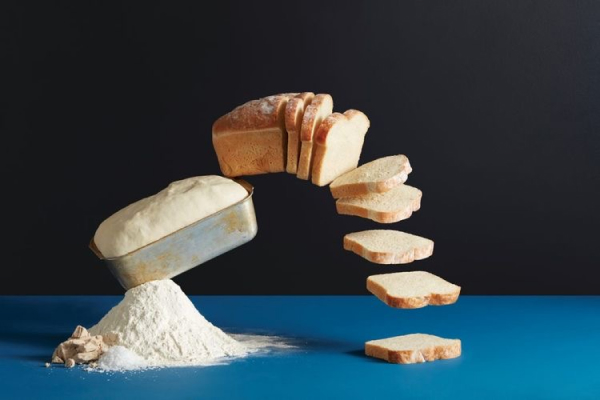
Levitation photos are magical! They grab the viewer's attention and make them think about what is actually wrong. If you search the internet for photos of levitation, you will find amazing examples. However, this genre has not yet become wildly popular. I guess the reason is that levitation looks quite difficult. I think most people would be surprised to learn that in most cases it is just a combination of two or more images in post-processing.
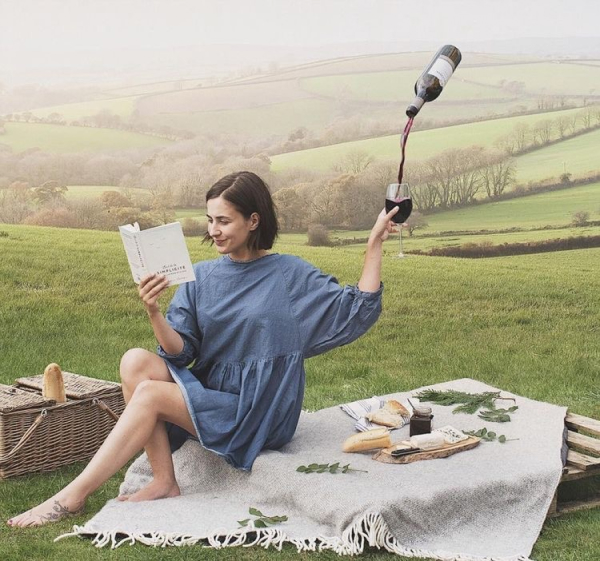
Like most portrait photographers, I shoot what I'm good at and mostly stay in my niche. And recently I decided that I needed a fresh creative flow and a way out of my comfort zone. A photo with levitation caught my attention. I learned the basics of how to create images like this.
My first experiment with levitation was very damp, to say the least. I knew the basics of creating these kinds of photos, but my images were very mediocre. The best part, however, came after getting home from filming and writing down all those new things I learned so that next time my levitation photos would be better. Below you will find the lessons I've learned so you don't have to go that hard path.
Preparing to a photoshoot for Instagram profile
#1 COLLECT EVERYTHING YOU NEED
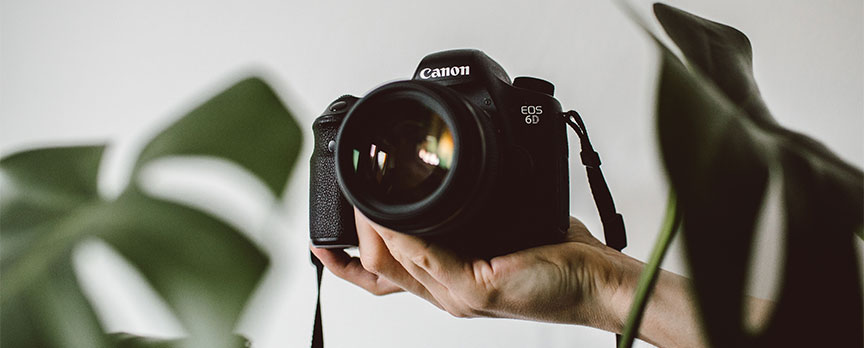
To create a levitation photo, you will need a camera, a tripod, a model, and some props (chair, stool, or ladder). If you have a remote control remote shutter release, take it with you.
#2 SHOOT ON A CLOUDY DAY
The sun and hard shadows tend to create a lot of extra work for you in post-processing. Removing a stool or staircase while keeping your model's natural shadows can turn out to be a job for true Photoshop connoisseurs.
#3 SHOOT FROM A LOW ANGLE
You should shoot from a low perspective to create the illusion that the subject is floating in the air. However, know the measure of this. If you are below the level of the props on which the model lies or stands, then this item will block parts of their body. The safest way to photograph is at the level of the top of the props your model is on. Positioning the model at the front of the support will also reduce the likelihood of body clipping.
#5 ALWAYS TAKE PICTURES OF AN EMPTY BACKGROUND
When preparing to create the frames that will become part of the final levitation image, follow these guidelines:
#6 TAKE MULTIPLE SHOTS TO CREATE ONE IMAGE
Basic levitation images are a composition of two or more frames. You will need at least one shot of the background and one shot of the model against this background.
#7 COMBINING SHOTS
Many levitation photographers use Adobe Lightroom and Photoshop to create their final images. Regardless of your choice of software, it is recommended that you first color correct a series of photos so that they are all the same. Lightroom has a great “sync” feature that lets you apply the same settings to a specific series of photos.
You can make amazing photos with a person and levitating object. Head to our people photography guide to know more about how to shoot models on Instagram.
Don’t forget to post everything you photographed on your Instagram profile. And even show some behind-the-scenes photos and videos to make your customers feel your brand authenticity.
Flat lay is ultra-popular on Instagram
Flat lays are photos of products laid on a flat surface taken from above. Their task is to show a product and a bit of lifestyle, atmosphere, or style. For example, it can be a photo of a workplace, a table setting, or another thematic layout of things.
The article will provide tips for beginners who want to diversify their Instagram or are going to shoot an item for stocks or catalogs. How can you start making your first flat with the resources that you have at no great expense?
Except for the photos with people, it seems that flat lay is like a still life. But these are not just things that are harmoniously arranged, but a moment of the product understanding. Such a picture reveals the character of the item, so before you start shooting, imagine what kind of person the audience is, what age and gender they are. Where do they live and what do they love, and what are they like in the small things?
Don't be smart with decor. Save the decoration for later. Sequins, ribbons and garlands are most often detrimental to the logic of the frame. Less is better, especially when you first get to know the layout method.
Hands in a frame with a laptop sometimes look more appropriate than lilac flowers and garlands on the keyboard.
Next, I'll talk about preparing for shooting, and then we'll make a flat lay.
Preparation for a flat lay photoshoot for IG
Background. In a flat lay, the background is the backing for your layout. Choose natural tones and materials that look natural. What fits badly:
- Synthetic, glossy surfaces. They sparkle in unexpected places and it's hard to deal with the glare even in a photo editor.
- Plastic, leatherette, glass and laminate with joints.
- Tufted carpets too – if you place something small, it will simply sink.
- Ugly white background. If you shoot with a smartphone, it may turn out grayish.
Take colors that you can see in nature. If you wish, you can buy a ready-made background ("wood-like" or "concrete-like") in a store for artists. But if now there is no extra money or time for shopping, then matte materials are suitable.
For example, take linen, wool, or burlap. Or layout objects on unvarnished wood flooring, furniture board, papyrus, or baking paper. Knitting without intricate patterns is perfect. A more unexpected option is sand and fine stone.
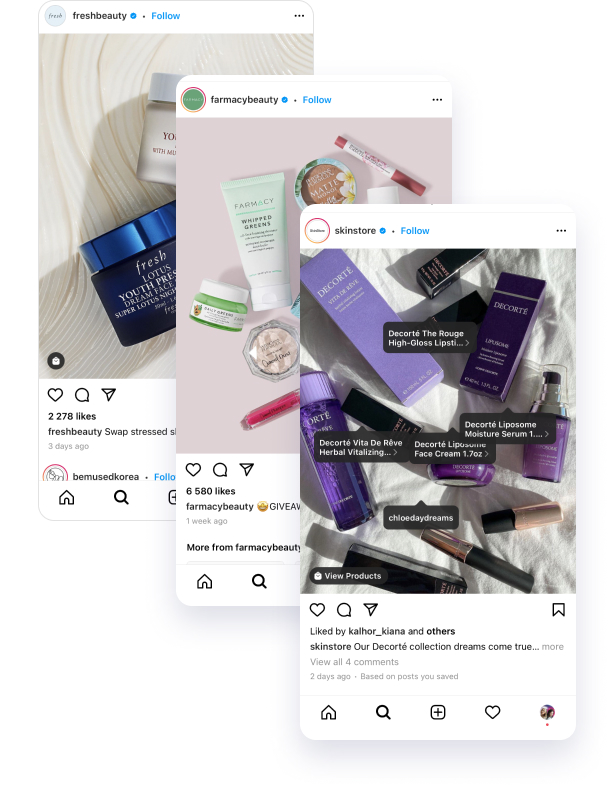
Choose a textured background
Examine the surfaces at home. These can be simple things (for example, a scarf or shawl, knitted blanket). Or flat surfaces. If this is not enough, you can always find a ready-made background or make it yourself. It can be a fur rug from Ikea, specially knitted and painted boards, or a set of colored paper from a nearby bookstore.
Shoot in natural light and match colors
The play of shadows in the photo is an important part of the style. Therefore, we recommend that you shoot in the morning or evening on a well-lit surface, for example near a large window.
When choosing your subjects, keep your profile color in mind. It is important that the items fit together. This way, you have more options for creating harmonious photos.
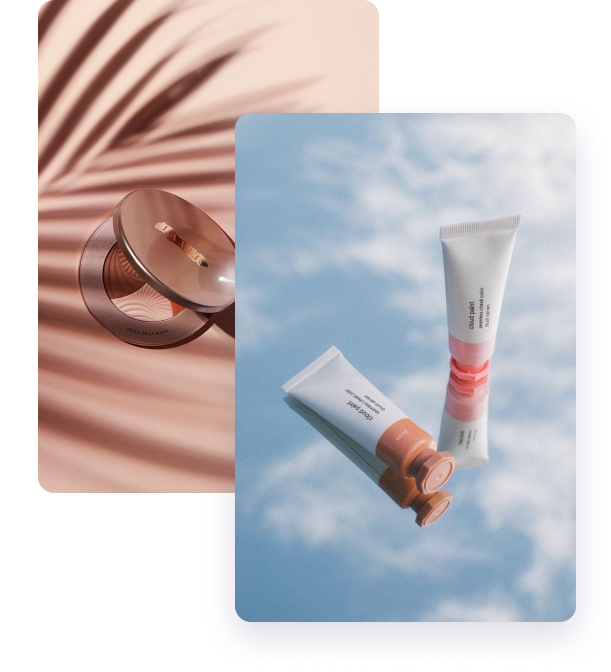
Try to take as many photos as possible with the same set of objects.
- Add/remove objects from the frame.
- Change the composition.
- Change backgrounds.
- Use different angles.
- Bring your photos to life – add hands, coffee, luxury items.
- Look for your style and make your Instagram brighter and more interesting for readers.
I Hope, you’ve grabbed a bunch of inspiring ideas from this article. Implement them in your Instagram photography strategy and you’ll get lots of attention from your followers for sure!
